
Clear each mission's key gates and Purges, then choose your next route at the ship controls. This Boltgun 2 walkthrough takes you through The Arkifane Emerges, There Is Only War and Mountain of Skulls, including their switches, keys and exit objectives. The weapon pickups and Malum-specific attacks below follow Malum Caedo's campaign; you choose your character at the start and keep them throughout the campaign.
How do you find the next campaign objective?
Follow the Navigation Guide for a path to your next objective, and open the Automap to check explored areas and unfinished objectives. On PC, press N for navigation when you lose your way between key doors or control panels.
Before starting, compare the Boltgun 2 characters if you want to choose between Malum and Nyra. Their weapons and abilities differ, so Malum's Chainsword instructions do not carry over to Nyra.
How do you complete The Arkifane Emerges?
Escape Shattered Station, then clear Dauntless and defeat Forgefiend to unlock the ship controls for your next chapter.
Shattered Station
- Open the first door with the panel on your right. Move down the hallway. As Malum, tap right-click for a Chainsword attack, or hold and release it to lunge at a target. Use Obliterating Charge when enemies line up near the next door.
- Take the left balcony detour at the locked door. Kill its guards, jump across the broken balcony on your left and open the door there. Collect grenades, hold G to throw one at the enemies below, then drop down.
- Collect the Boltgun beyond the next door. Fight forward, climb the next balcony and shoot the switch to open the way. Drop down for the key, then return to the large red door.
- Pick up the central Warhammer emblem to start the Purge. Clear the enemies, leave through the opened door and follow the hallways to the battleship exit.
Dauntless
- Go down to the red key. Help your allies clear the enemies, watch for ambushes and collect the key from the ledge. Drop down and follow navigation to the key panel.
- Clear the ambush from above before using the panel. Wait for the platform to rise, then sprint-jump onto it. Continue to the rooftop's purple elevator.
- Find the purple key beyond the elevator. Defeat the two Chaos Terminators ahead, climb the platform and shoot the switch. Clear the enemies above, collect the key and return to ride the elevator up.
- Activate the jump pads with the upper panel. Cross to the far end, clear the enemies and take the yellow key. Return to the first jump pad and turn right for the large yellow door.
- Break Forgefiend's white shield with a grenade, then shoot it. Repeat when the shield returns. Gunfire cannot damage it through that shield, so save your shots until it breaks. Prioritize Forgefiend because its defeat also kills the remaining enemies in this Purge.
- Go through the door and interact with the golden emblem. This ends the opening chapter and unlocks ship navigation.
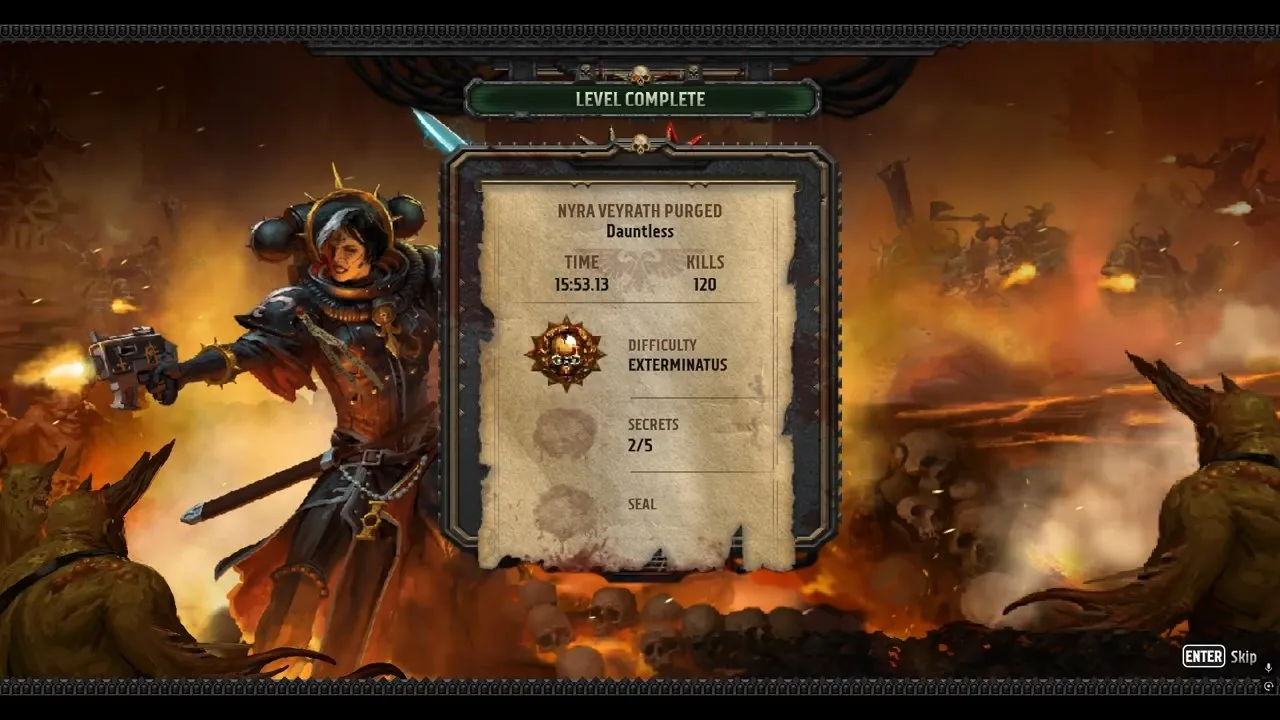
If you want to search beyond the exit route, keep the Boltgun 2 secrets page handy for collectible hunting.
Should you choose There Is Only War or Nurgle Nightmare?
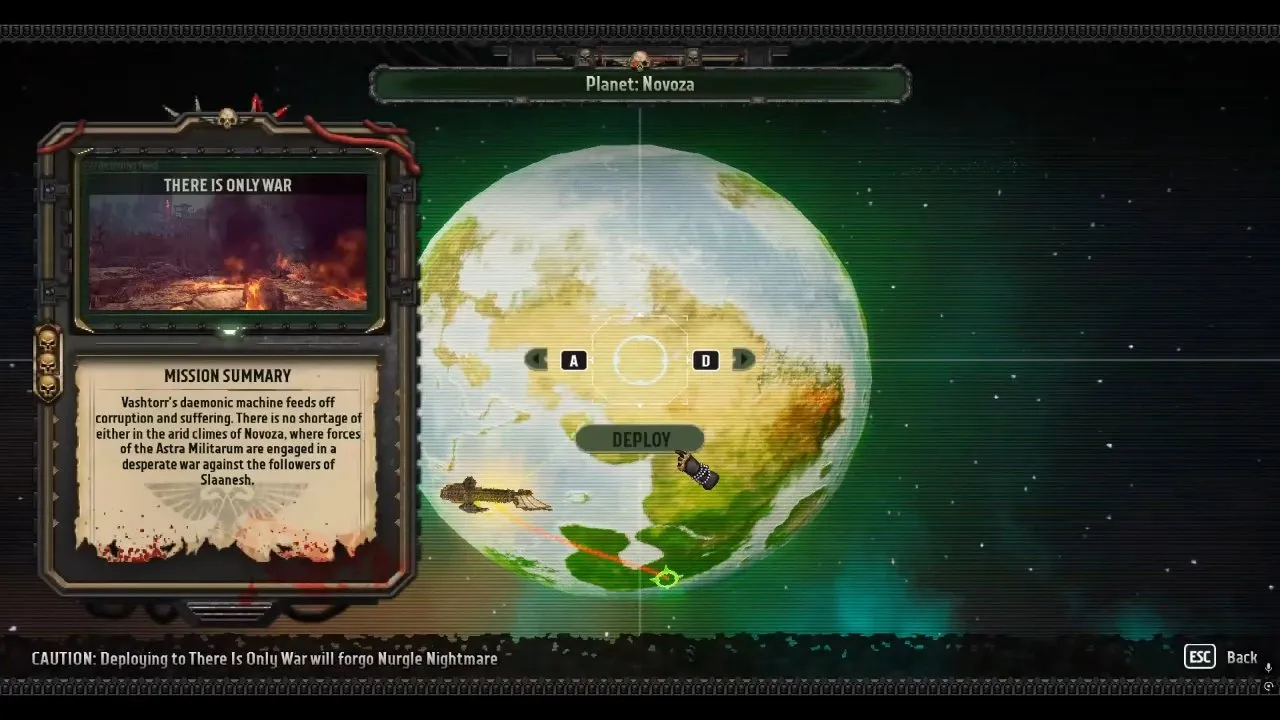
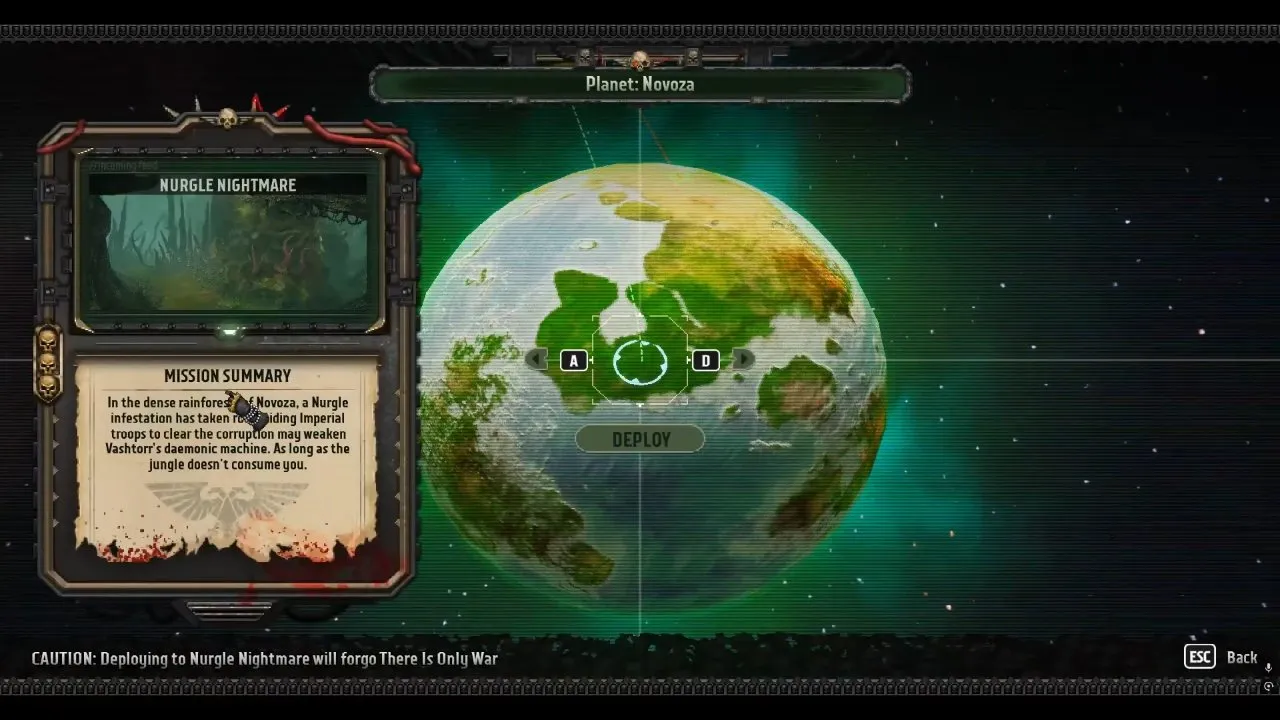
Choose There Is Only War for the northern destination or Nurgle Nightmare for the southern destination; deploying to either one gives up the other at this campaign fork. Read the destination's mission summary before pressing Deploy.
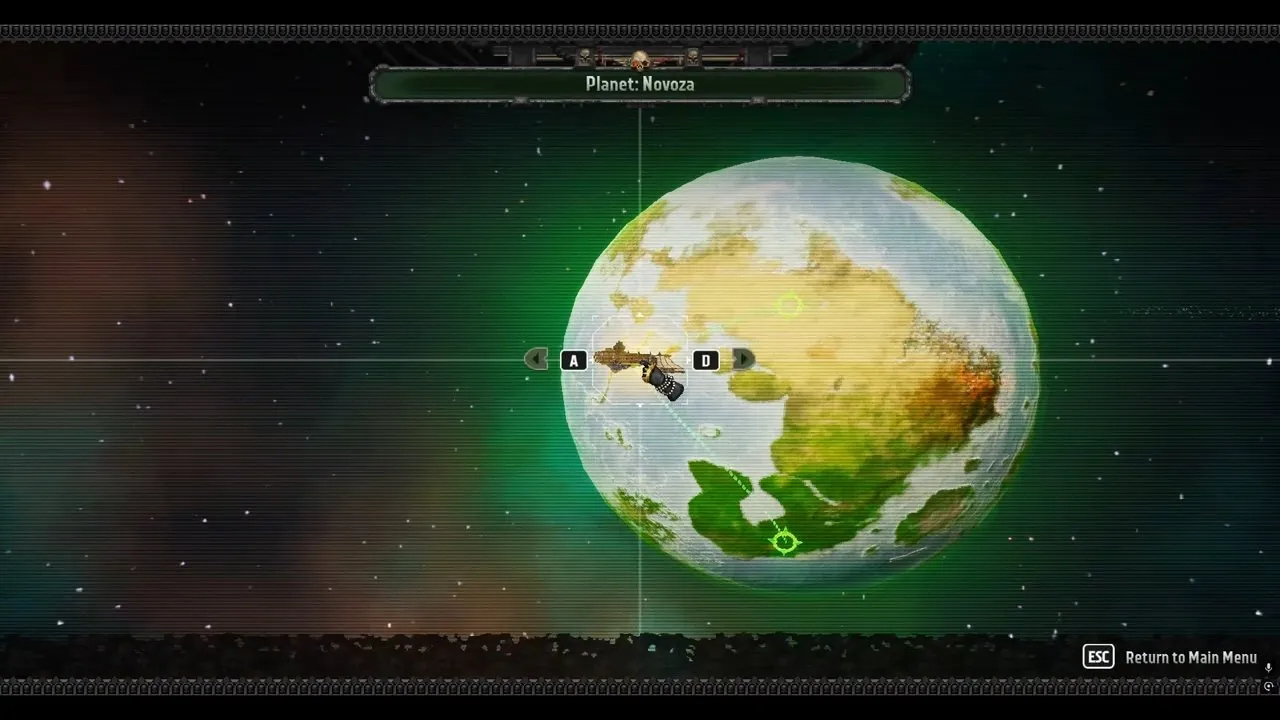
There Is Only War
Select the northern destination to fight through The Trenches, Munitions Mayhem and Chaos In The City. You fight alongside Imperial forces against Slaanesh's followers. Choose this branch if you want that battlefield and city route; the mission panel warns that deploying here forgoes Nurgle Nightmare.
Nurgle Nightmare
Select the southern destination to enter Novoza's dense rainforest and fight Nurgle's forces while helping Imperial troops clear the corruption. Choose it for the jungle route. Its deployment warning reverses the trade: you give up There Is Only War at this fork.
The campaign contains more than 30 levels across its branches, and one playthrough cannot visit every region. See Boltgun 2 levels for campaign structure before committing to a destination.
How do you complete There Is Only War?
Use the cannon to leave The Trenches, survive the missile launch in Munitions Mayhem, then escape Chaos In The City by ship.
The Trenches
- Follow the objective marker to the friendly bunker. A Purge starts as you approach. Defeat the enemies arriving by shuttle, then enter the bunker for Malum's Plasma Gun.
- At the giant red-key door, turn back toward the purple-lit bunker. Check behind you as you move through it because enemies ambush you from the rear. Use the panel at the hallway's end to open the exit.
- Follow navigation to the bunker roof. Watch above you for leaping Daemonettes. The cannon needs a purple key; turn around from it, clear the enemies and collect that key.
- Use the key to redirect the cannon at the facility's giant door. Once it blasts the entrance open, jump into the crater. Finish the final Purge and leave.
The final Purge in The Trenches can fail to end after the fighting. If that happens, you may be hitting a progression bug rather than overlooking another key.
Munitions Mayhem
- Jump across the sewer gaps and stay out of the sludge. Standing in it damages you. In the following Purge, work through the enemies carefully while watching the explosive barrels around you.
- Break the Ambull's armor with a grenade, then shoot it. At the hallway, turn left into the secret area if you want Malum's Frag Cannon early.
- Open all six side rooms when the corridor's final door shuts. The first room at the bottom left contains friendlies, so check your targets. Clear the hostile rooms to reopen the way forward.
- Start the launch sequence at the missile control panel. Enemies keep arriving; survive until the third missile launches, then head for the exit. Chasing every new wave keeps you fighting after your real objective is done.
Chaos In The City
- Find the red key in the building opposite the objective entrance. Fight upstairs to collect it, taking care at the gap, then return to open the red door.
- Finish the Daemonette Purge. Two larger Daemonettes arrive at the end; defeat them to finish the encounter.
- Open the doors and clear the remaining enemies. Malum receives the Frag Cannon here if you did not take the earlier secret pickup. See Boltgun 2 weapons for the wider unlock path.
- Fight through the next area for the purple key. Push into the traitors' fortress, clear the opposition and board the ship to end the chapter.
How do you complete Mountain of Skulls and beat Lord of Skulls?
Clear Blood Fortress and Blood Cascade, then use Blood Machine's pipes, colored keys and boss-side passages to reach Lord of Skulls' head weak point.
Blood Fortress
- Keep to the ravine's right wall until you reach the fortress. Drop down the cliff. At the red door on your right, turn left to begin the key detour.
- Climb the raised platform and clear the rooms. Fight through the Berzerker ambush, then turn right into the cave ahead. Defeat the Bloodletters and take the red key.
- Return to the red gate, then climb to the drawbridge control. Lower the bridge, cross it and follow navigation to the next panel, which lowers the stronghold entrance.
- Defeat Bloodcrusher to end the entrance Purge. Enter the fortress, take the purple key and open the locked door to finish the level.
Blood Cascade
- Activate the first door panel, then double back. Turn left from the entrance path to find the door you just opened. Continue to the junction with red and purple doors.
- Find the red key farther along the path. You pass a yellow door shortly before reaching it. Return to the junction, open the red door and reach the barricade panel.
- Lower the barricades and wait for the blood to drain. Ammo drops become accessible as the level falls, so pausing here lets you resupply. Go beyond the lowered barricade for the purple key.
- Use the jump pad below to return to the junction. Open the purple door and continue to the open area. Activate its panel and collect Malum's Heavy Bolter, which starts a Purge.
- Clear the Purge, then approach the exit. The door closes and an ambush begins. Fight and descend as the floor opens beneath you; this happens three times. Survive the enemies at the bottom and follow the depths to the exit.
Blood Machine
- Shoot the glowing pipe at the tunnel dead end. Its explosion opens the path. Descend until you reach the yellow door, then break the pipe above the door on your left.
- Climb the first large structure for the red key. Return to its bottom and open the red door to reach the second structure.
- Clear and climb the second structure for the purple key. Jump across the broken wall at the top. Shoot the two pipes blocking the next door to reach the third structure.
- Take the yellow key on the second floor. Finish the Purge it triggers. Open the first yellow door to loop back to the beginning, then the second yellow door to enter the boss tunnels.
Lord of Skulls
Destroy the glowing parts first, use the side doors to attack the blood tanks and rear weak point, then finish the exposed head. The pipes you destroyed through Blood Machine also weaken the boss.
| Phase | Targets and route | What to watch for |
|---|---|---|
| First | Shoot the glowing parts and drain its health until the right door opens. Inside, look left and destroy two blood tanks. Use the jump pad to reach its back and shoot the glowing point behind its head. | Jump over the axe shockwave and keep clear of the impact area. The rear hit throws you back into the arena. |
| Second | Shoot the axe, hand and chest armor. When the left door opens, enter, look right and destroy the remaining two blood tanks. Jump onto its back and hit the rear point again. | Jump over the chest's blood spray and watch for missiles. Another rear hit returns you to the arena. |
| Final | Concentrate fire on the head until the boss falls, then access its head to finish the chapter. | Its collapse can trap you inside the body, so take care with your position as it falls. |
Why does Continue keep loading the same mission?
Quit to the menu and choose your campaign save from Load Level if Continue stops advancing your campaign after a Level Select visit. Continue can load the save created for that selected level instead of the campaign save you intended.
Some players have also found that restarting the game helps. Try selecting the campaign save first so you return to the run you actually want to progress.
After accessing the fallen Lord of Skulls' head, Mountain of Skulls ends and Planet Novoza is complete. For your next campaign-planning step, check Boltgun 2 levels; if you are returning to hunt missed pickups, head to Boltgun 2 secrets.